Direct-to-film (DTF) transfers have surged in popularity due to their versatility in printing on various apparel and textiles. Whether you're a seasoned professional or a novice, this blog provides invaluable tips and insights into creating DTF transfers and utilizing them effectively.
Understanding the Direct-to-Film Transfers Process
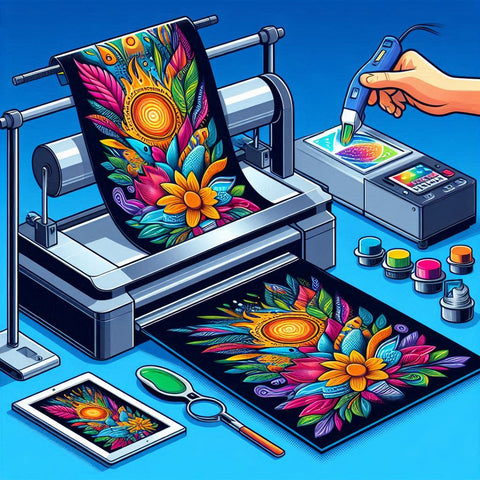
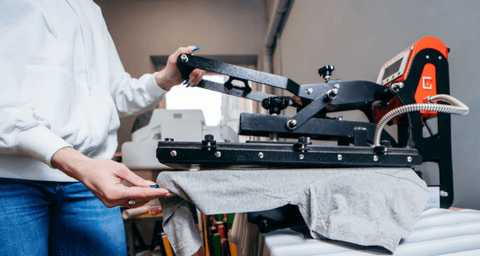
DTF transfers involve printing designs directly onto a special film using dedicated printers. The process includes coating the film with heat-activated glue and pressing it onto fabric using a heat press or gun. This method is cost-effective, especially for small batches, making it a popular choice for custom apparel.
5 Tips and Tricks for Using DTF Transfers
- Choose the Right Film: Opt for high-quality, stretchable film that adheres well to different fabrics and retains colors vibrantly.
- Prep Your Artwork: Ensure your artwork is properly prepared with vector graphics or high-resolution images for crisp prints.
- Calibrate Your Printer: Regularly calibrate your printer for accurate color reproduction and optimal print quality.
- Experiment with Pressure and Temperature: Adjust heat press settings to find the perfect combination for your fabric and film.
- Post-Processing is Essential: Allow prints to cool completely before peeling off the film and consider using finishing solutions for durability.
Pros of Using DTF Transfers
- Vibrant, High-Quality Prints: DTF transfers produce vivid, detailed prints.
- Durability and Longevity: Designed to withstand multiple washes and wear.
- Versatility in Fabric Selection: Suitable for a wide range of fabrics.
- Cost-Effective: Particularly for smaller production runs.
- Ability to Create Intricate Designs: Ideal for complex, detailed artwork.
How to Apply DTF to T-shirt?
- Prepare your design and print it onto DTF film.
- Preheat your heat press to the recommended temperature.
- Pre-press the t-shirt to remove wrinkles.
- Position the DTF transfer and protect it with parchment paper.
- Apply heat and pressure with the heat press.
- Allow the t-shirt to cool before peeling off the film.
- Post-process the print for added durability.
Start Your Journey with DTF Transfers Today!
Discover the endless possibilities of DTF printing with Direct-to-film North Carolina. Offering high-quality materials, films, and inks, we cater to your specific needs with a customer-centric approach and expert guidance.
FAQs about Using DTF Transfers
-
How do I use DTF transfers? Print your design onto the transfer film, position it on the garment, and apply heat and pressure using a heat press or gun.
-
What temperature should DTF transfers be set at? Typically between 300°F to 330°F, depending on the transfer film and fabric.
-
Are DTF transfers good? Yes, they offer vibrant prints, durability, versatility, and cost-effectiveness.
-
How do I make my DTF print softer? Use lower temperature, reduce pressure, increase dwell time, and opt for thinner transfer films.
-
What is the best temperature and time for DTF printing? Recommended temperature range is 300°F to 330°F, with dwell time of 10-30 seconds.


Comments (0)
There are no comments for this article. Be the first one to leave a message!